

BAILEY CREEK GOLF COURSE
Scorecard
Yardages, Course Details & Local Rules
World Class 18-hole course
World class design by master architect Homer Flint. Bailey Creek is an unparalleled user friendly 18 hole championship golf course in the Lake Almanor basin.
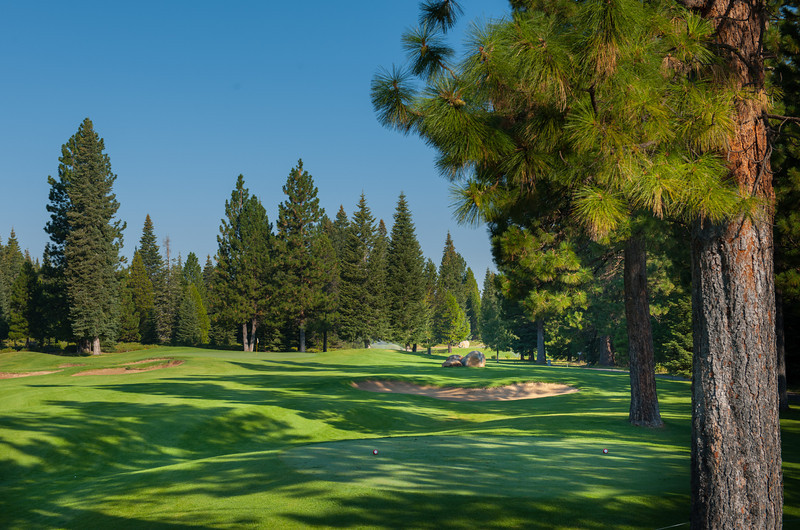
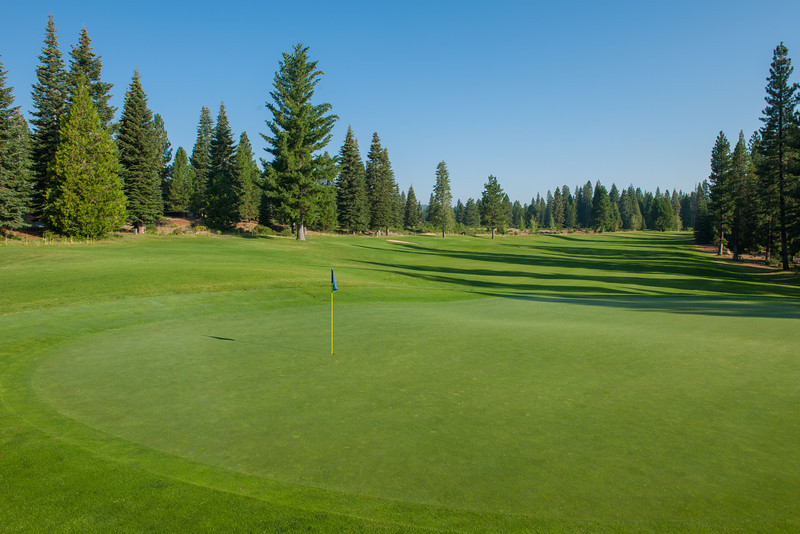
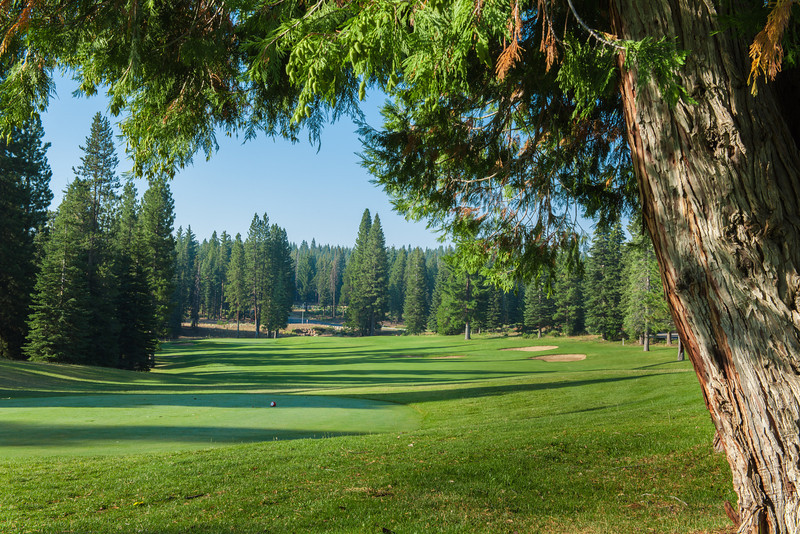
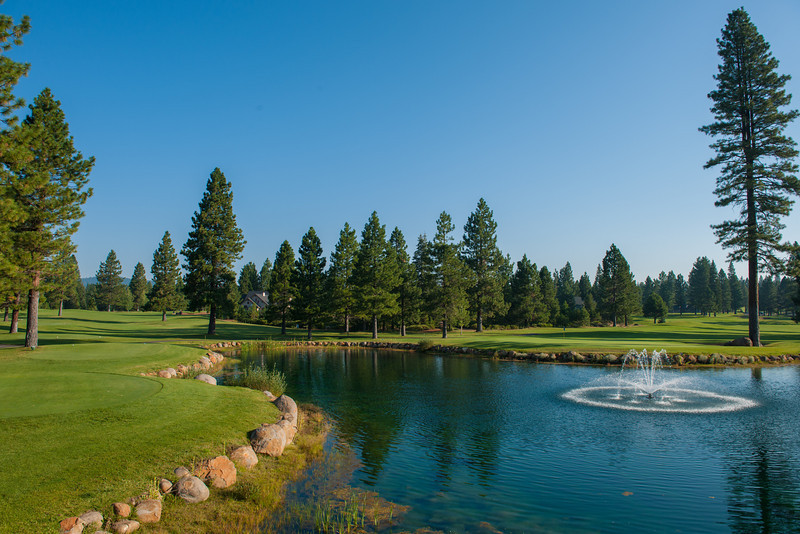
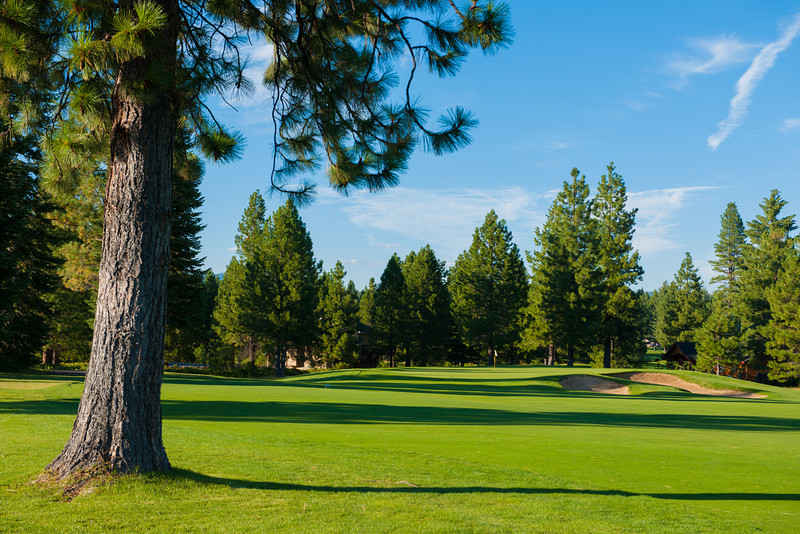
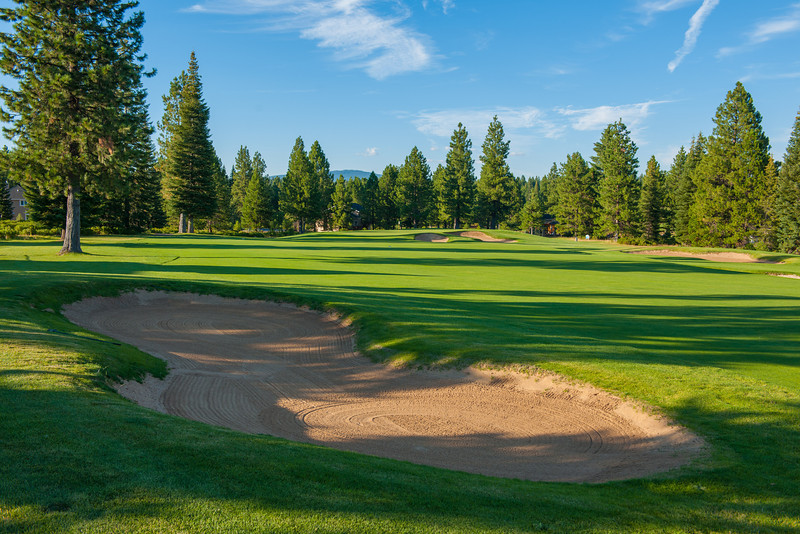
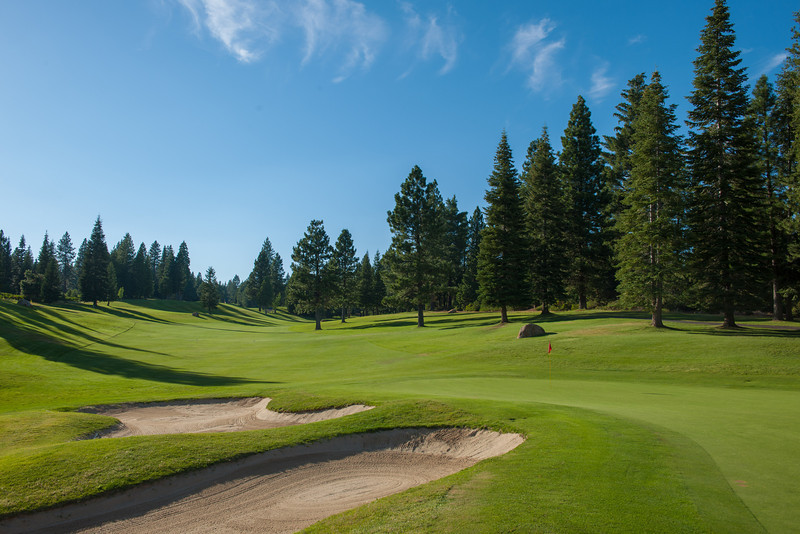
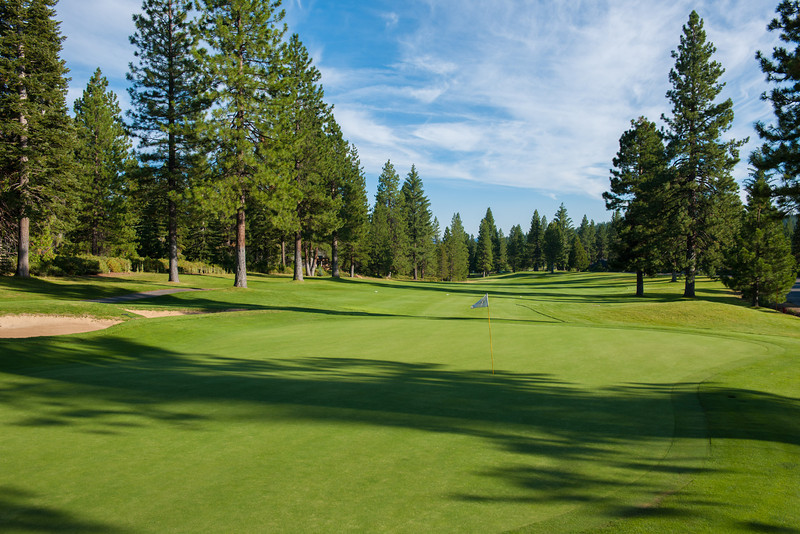
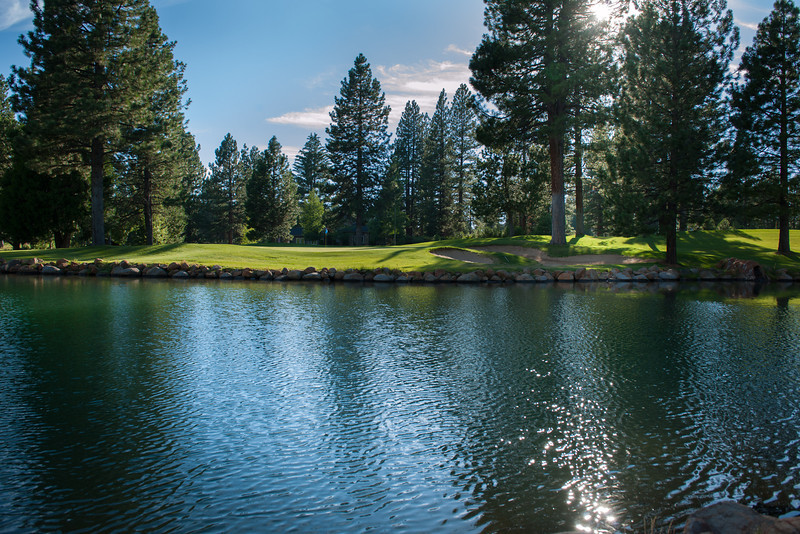

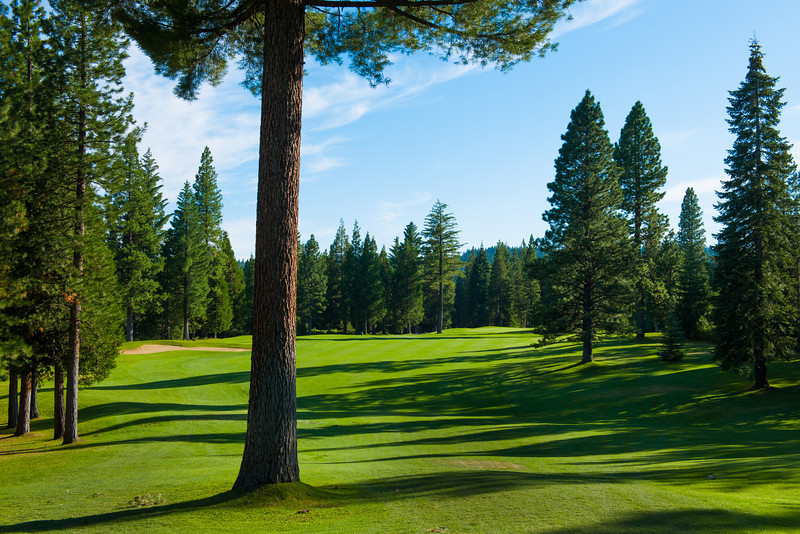
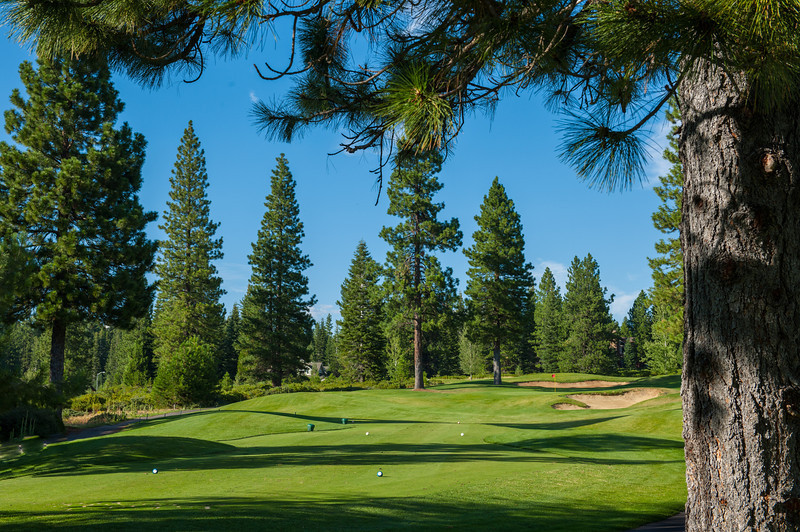
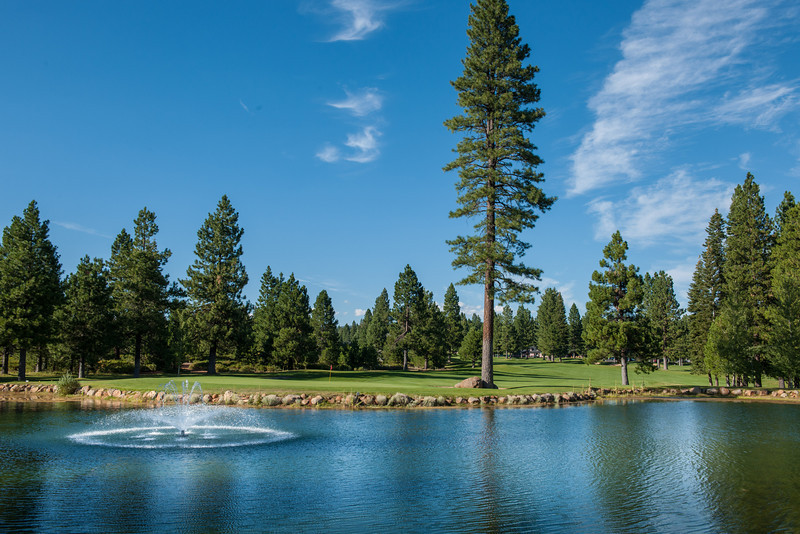
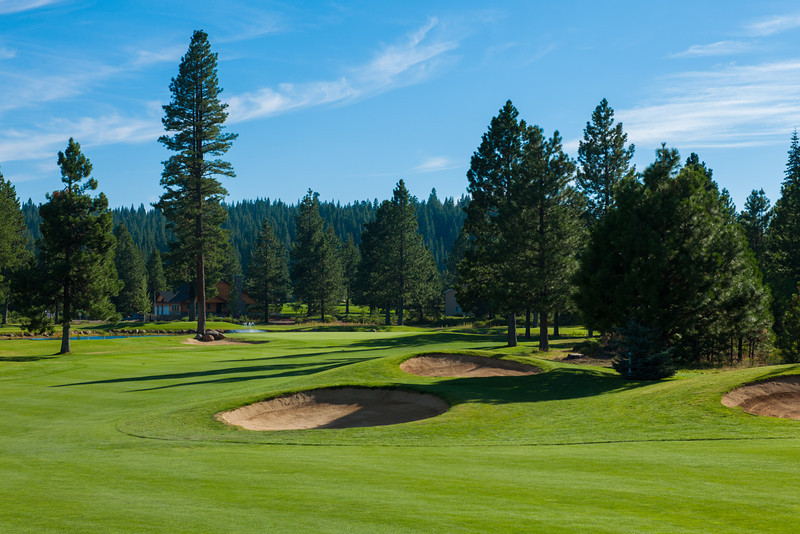
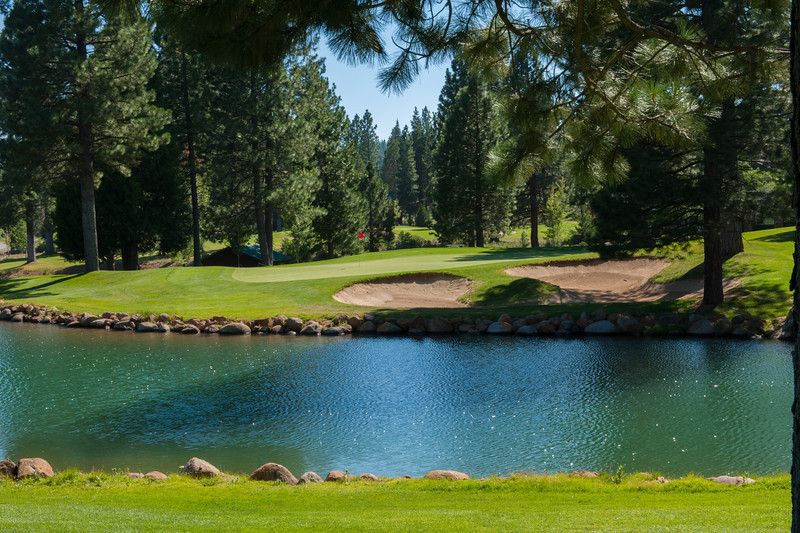
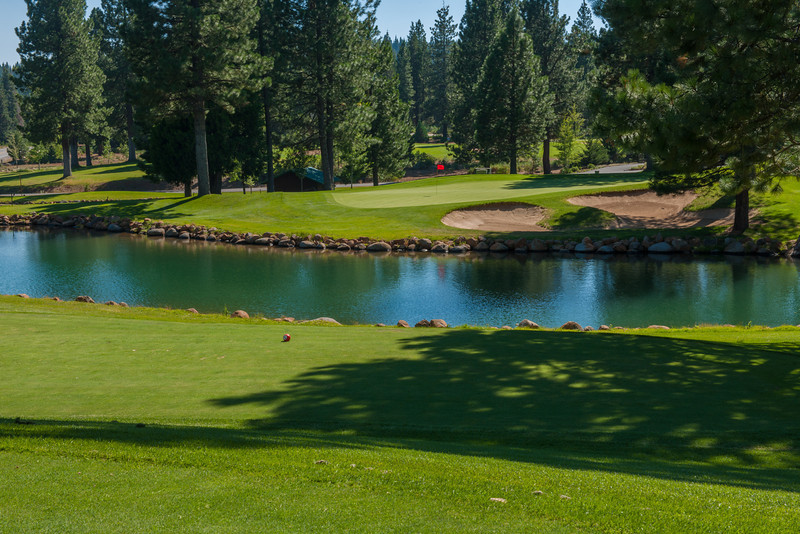
Hole by Hole
Hole 1
Hole 1 |
Description |
|
 |
Par : 4 Yards: 450 |
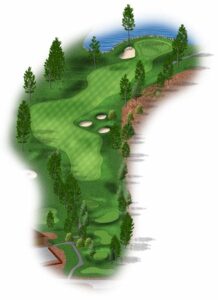
A welcoming start with room off the tee, but Bailey Creek rough makes you earn it. Left side is the play to avoid the right bunkers and set up your approach. Keep it simple, aim for the middle of the green, no reason to risk the pond early. |
Hole 2
Hole 2 |
Description |
|
 |
Par : 5 Yards: 564 |
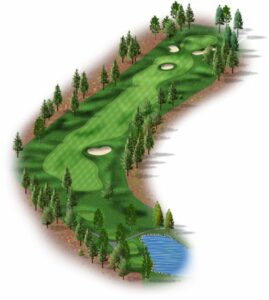
A little tight off the tee, but it opens up once you clear the trees. The fairway bunker about 60 yards from the green is a problem, avoid it. Great risk-reward par 5, take advantage when you can. |
Hole 3
Hole 3 |
Description |
|
 |
Par : 4 Yards: 377 |
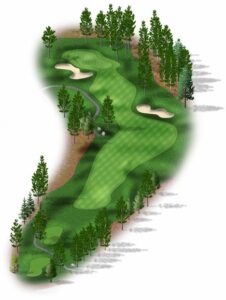
This short par 4 has some teeth, don’t let it bite you. Left side brings trees into play, right side is the better line, just avoid the rough. The pro lives here, so keep it out of his yard. |
Hole 4
Hole 4 |
Description |
|
 |
Par : 3 Yards: 168 |
The first par 3 is much gentler than the others you’ll see later in the round. Avoid the front and back bunkers and this is a great birdie chance. There’s a big ridge through the middle of the green, so pay attention to the flag, if it’s blue, make sure you get it to the back tier or risk a three putt. This hole sees plenty of hole in ones, maybe today is your day. |
Hole 5
Hole 5 |
Description |
|
 |
Par : 5 Yards: 484 |
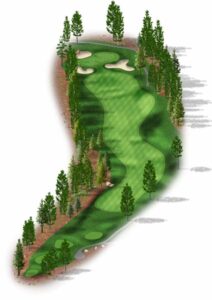
Welcome to the best risk-reward hole at Bailey Creek. This short par 5 is a great chance for eagle, but it can turn into a snowman in a hurry. A big draw off the tee sets up a short second, but the safe play is 230 yards or less, anything longer brings out of bounds into play. Yardage is short, but the green sits at the highest point on the course, so take an extra club and make sure you get it there. |
Hole 6
Hole 6 |
Description |
|
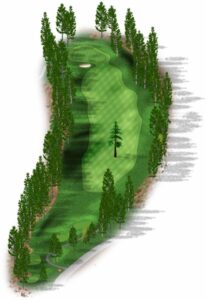 |
Par : 4 Yards: 463 |
The #1 handicap hole is a true gem. Architect Homer Flint left a towering sugar pine in the middle of the fairway to make sure you remember it. Pick a side off the tee, left or right, and commit. The wind is often in your face, so bring your A game. From there it plays slightly downhill to a green that has created its share of three putts. Good luck, par is always a good score here. |
Hole 7
Hole 7 |
Description |
|
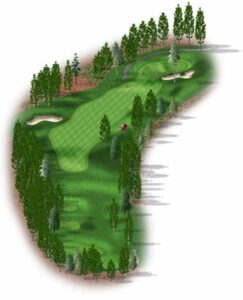 |
Par : 4 Yards: 378 |
A favorite tee shot for many, sets up perfectly for a power fade. Short yardage makes this a great bounce back birdie chance after the #1 handicap hole. A large tree guards the left side of the green, avoid it and give yourself a good look. |
Hole 8
Hole 8 |
Description |
|
 |
Par : 3 Yards: 176 |
The signature hole at Bailey Creek doesn’t scare you with yardage, but the water, wind in your face, and downhill shot will have you asking your partner what they hit. Enjoy the view and take dead aim. |
Hole 9
Hole 9 |
Description |
|
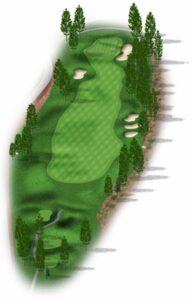 |
Par : 4 Yards: 406 |
The widest fairway on the course won’t intimidate you, but the gentle uphill climb might tempt you to swing for the fences. Stay within yourself and find the fairway, misses left or right bring rough that makes the approach much tougher. |
Hole 10
Hole 10 |
Description |
|
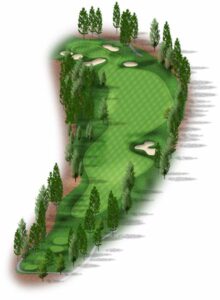 |
Par : 5 Yards: 521 |
Welcome to the back nine. Hopefully you stopped at the halfway house for a Bailey Breeze, you might need it, things tighten up from here. Hole 10 is a great par 5. Right side off the tee gives you the best chance to get home in two, but anything in the fairway works. Take advantage, the next few holes are the Amen Corner of Bailey Creek. |
Hole 11
Hole 11 |
Description |
|
 |
Par : 4 Yards: 416 |
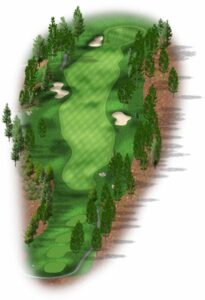
A good friend once nicknamed this hole “Nemesis,” and it fits. Find the fairway here, right side is trouble, left is better, but still not forgiving. The downhill tee shot can give you false confidence, you don’t need much, 230 off the tee is perfect. The farther you hit it, the tighter it gets. Take a moment to enjoy the view of Dyer Mountain in the background, this was Homer’s favorite hole. You can even preview #12’s green from here, so take a look at the pin before you leave. |
Hole 12
Hole 12 |
Description |
|
 |
Par : 4 Yards: 395 |
Hole 12 is Marshal Ev’s favorite. The tee shot runs through a chute of pine trees, then the hole opens up and gives you options. The back pin is the only real danger, but two large bunkers guard the right side, avoid them. |
Hole 13
Hole 13 |
Description |
|
 |
Par : 3 Yards: 179 |
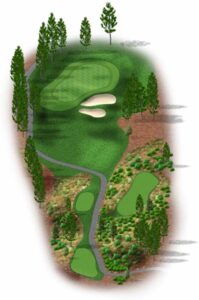
Another par 3 that doesn’t scare you with yardage, but the green can be nasty depending on the pin. Red is by far the toughest, and with the short yardage, controlling spin is tricky. Hitting the green isn’t the issue, holding it and giving yourself a real birdie look is. |
Hole 14
Hole 14 |
Description |
|
 |
Par : 4 Yards: 450 |
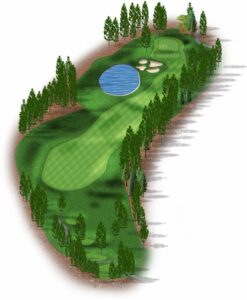
Many consider this hole tougher than #6, and it shows. Hole 14 is a beast, and the uphill climb doesn’t make it any easier. The key is avoiding the “valley of sin” on the left, miss there and double starts to feel like a win. The green has two distinct tiers, so make sure you’re on the right one. And don’t forget about the pond left. |
Hole 15
Hole 15 |
Description |
|
 |
Par : 4 Yards: 427 |
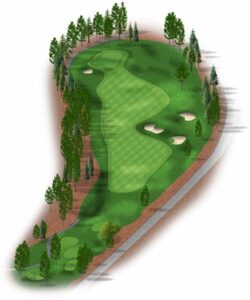
Occasional honks from Clifford Drive are only part of the challenge on 15. The two bunkers off the tee dare you to try and fly them. Fairway is key, left is your friend, just don’t go too far and bring OB into play. Par is a good score here. |
Hole 16
Hole 16 |
Description |
|
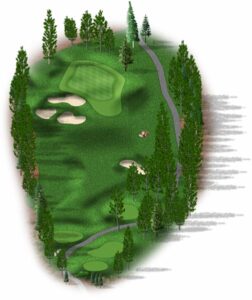 |
Par : 3 Yards: 193 |
A par 3 that finally calls on the longer clubs. Hitting the green is the goal. Plenty of sand on the left, so take enough club to clear it and give yourself a putt at glory. |
Hole 17
Hole 17 |
Description |
|
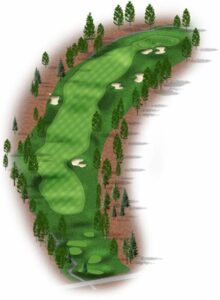 |
Par : 5 Yards: 564 |
A true par 5 by anyone’s account. The last of the par 5s is your only view of Lake Almanor. Take a glance from the rock on the left as you make your way up. Wide fairway with no trouble out in front of you. Get it on the green and give yourself a birdie chance. |
Hole 18
Hole 18 |
Description |
|
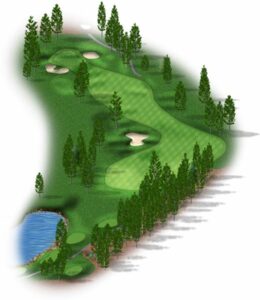 |
Par : 4 Yards: 429 |
The home hole is a tough finish for anyone. A strong tee shot helps shorten it, you’ll need about 230 to carry the bunker, and a draw fits the shape. The safe play is right, but that leaves an uphill approach into the green. We did lose the big sugar pine on the left, so there’s a little more forgiveness there now. |